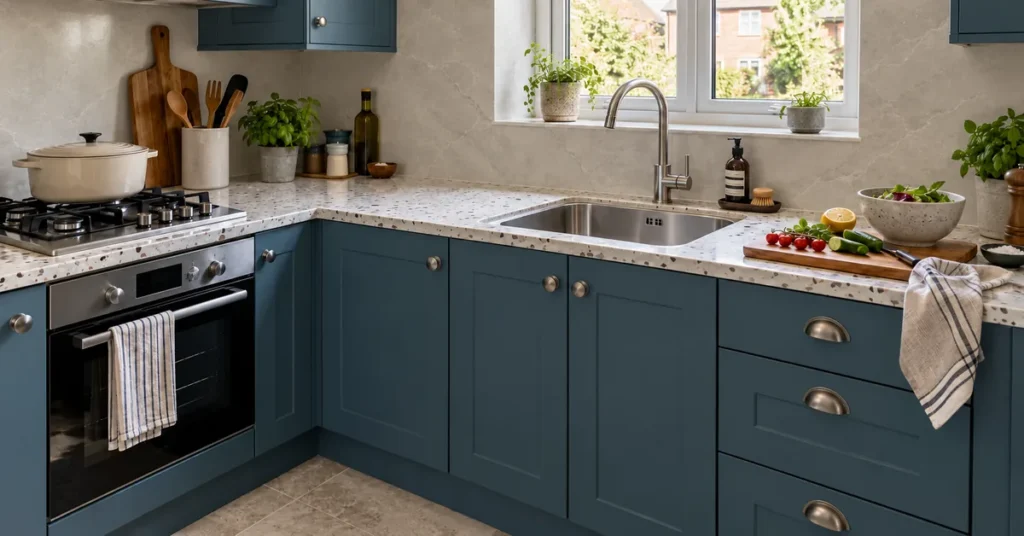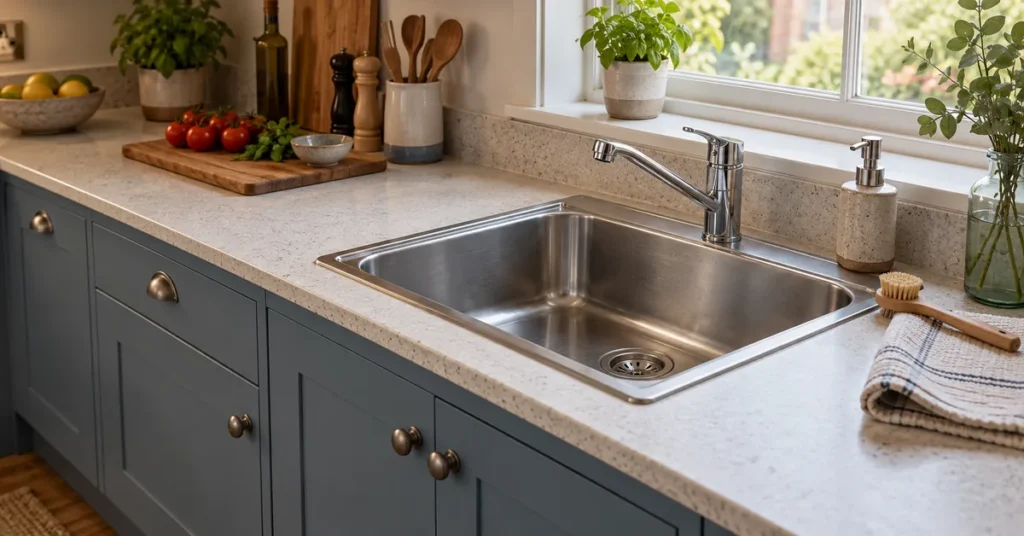
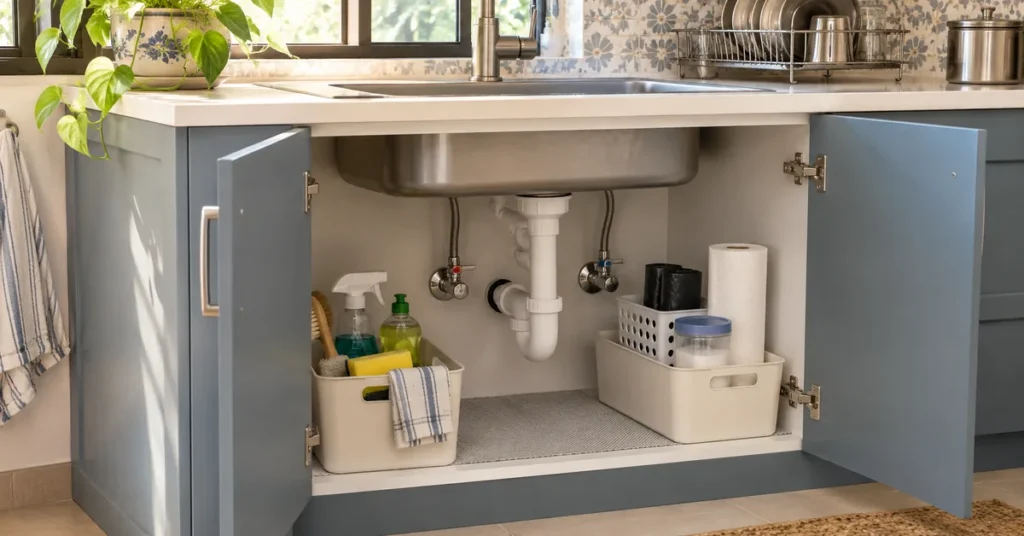
The cabinet under a kitchen sink can look like one open box, but the drain, water lines, valves and sometimes a filter or disposal divide it into awkward pockets. A shelf or bin that looks right online may not fit through the door or may block something you need to reach. Good under-kitchen-sink storage starts by measuring the space the plumbing leaves, then choosing a few removable pieces that suit those spaces.
You do not need to fill every gap. Keep the cabinet easy to inspect and simple to clear if you need to check a connection or clean up a spill.
As an Amazon Associate I earn from qualifying purchases.
1. Empty the cabinet and check its condition
Take everything out so you can see the full layout. Wipe the cabinet base and look for damp patches, swelling, peeling finish, a musty smell or water marks around the pipes. If you find an active leak or a loose connection, sort that out before adding storage. A mat can catch small drips, but it is not a fix for leaking plumbing.
Group what you removed by how often you use it. Keep only a modest set of everyday supplies here, such as dishwashing liquid, a sponge, gloves or a small cleaning caddy. Put bulk refills and items you rarely reach for elsewhere if the cabinet is tight. Less clutter makes it easier to spot a new drip and reach the shutoff valves.
2. Measure the usable spaces, not just the cabinet
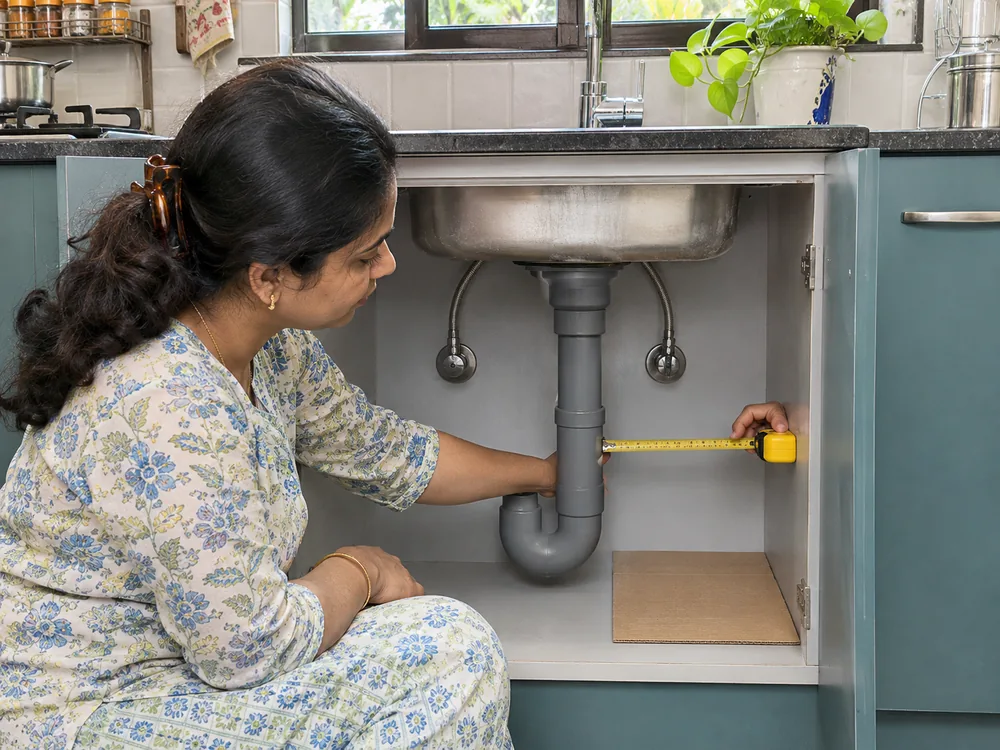
Measure before buying an organizer. A cabinet’s outside width or advertised size does not tell you how much clear room remains inside. Make a quick sketch from the front and above, marking the drain and trap, supply lines, shutoff valves, hinges, the sink bowl and any equipment already installed.
- Interior width at the narrowest point, including the space lost to hinges or a centre divider.
- Usable depth from the front edge to the pipes or other obstruction.
- Clear height from the cabinet floor to the lowest part of the sink bowl, trap or equipment.
- The door opening and the path a bin or pull-out must travel to come out.
- The position of valves and connections that need to stay visible and reachable.
Check each measurement at the point where the organizer will sit. The space may be taller at the front than at the back, or wider on one side of the drain. If a bin has handles or a pull-out frame, include those in its outside dimensions. A useful test is to cut a cardboard template to the organizer’s footprint and see whether you can place and remove it without forcing it around the pipes.
3. Match the storage to the pipe layout
There is no single organizer that works in every sink cabinet. Start with the simplest arrangement that leaves the plumbing accessible. To compare options, look for an under-sink organizer with room around the pipes (paid link) and check its full outside dimensions against your measurements.
| Cabinet layout | Storage idea to try | Check before using it |
|---|---|---|
| Drain near the middle | Use separate handled bins on the clearer left and right sides. | Each bin must fit through the door and lift out without catching the trap or valves. |
| Pipes sit toward one side | Use a narrow pull-out only in the open lane beside them. | Check the full slide path and confirm the frame does not press against a hose. |
| Low pipe across the back | Keep a shallow tray or caddy toward the front. | Leave the back connections visible and avoid pushing items against them. |
| Room above the pipes | Try a small raised shelf with legs that stand on the cabinet base. | The shelf must clear the sink and pipes; its supports should not rest on plumbing. |
| Very little clear floor | Use one compact caddy for daily supplies and store extras elsewhere. | Do not crowd the valves or make the caddy difficult to remove. |
Treat these as layout options, not guarantees. Pipes can enter from the back, side or centre, and filters or disposals change the available room. If an organizer only fits when you tilt, squeeze or push it past a connection, choose a smaller one.
4. Use vertical and door space with care
A low shelf or a two-level organizer can make small items easier to see, but it needs enough clearance below the bowl and around the pipes. Keep the upper level for items that are light and easy to lift out. Put heavier bottles on the cabinet floor or the lowest stable shelf, where they are less likely to tip when you reach for something.
The inside of the door can hold a light sponge, gloves or an over-the-cabinet-door sponge holder (paid link) if there is room. Before attaching a rack or hook, check the door material and the product instructions. Close the door slowly to make sure the organizer does not hit the stored items, pull a hose or stop the latch from closing. Do not assume an adhesive fitting or thin cabinet door can support a heavy bottle.
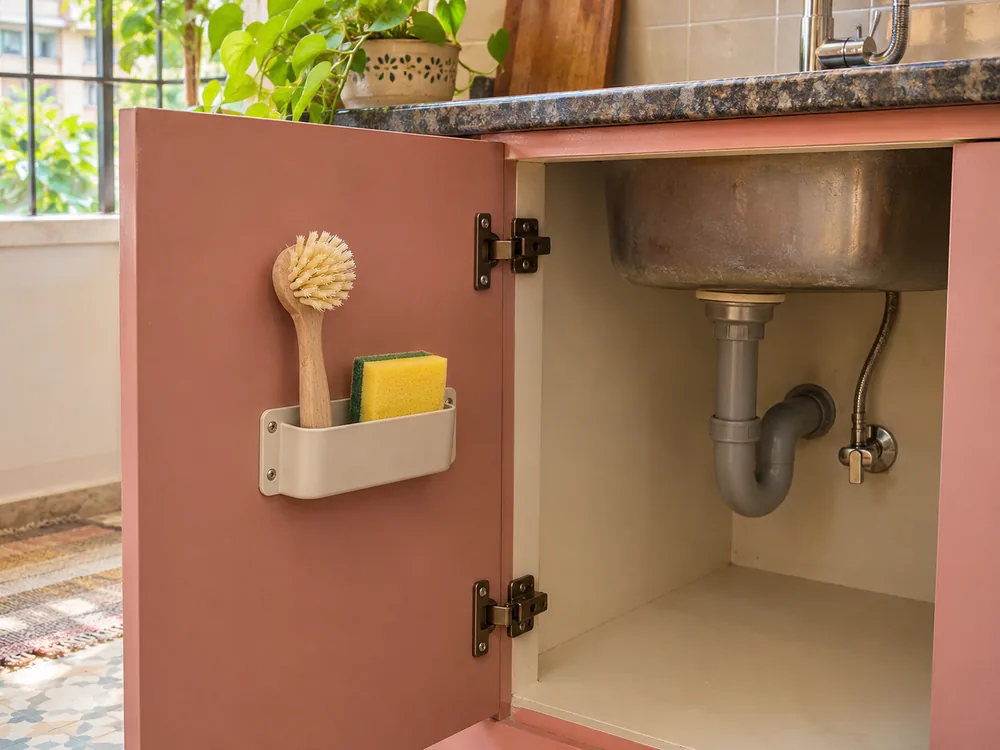
5. Keep the cabinet easy to inspect
Storage should not hide the parts you may need to check. Keep the shutoff handles reachable, leave the trap and connections visible where possible, and avoid tying, taping or hanging items from pipes. If you have a filter, disposal or other equipment, leave the space needed to operate or service it according to its instructions.
A removable under-sink cabinet mat (paid link) or tray can make routine cleaning easier, especially under bottles that might drip. Choose one that lies flat and can be lifted out. Check it periodically and dry the cabinet if water collects. Do not cover a damp area and assume it is protected.
6. Store only suitable supplies under the sink
This cabinet is convenient for everyday cleaning supplies, but it may not be the best place for paper towels, cloth napkins, cardboard packaging or other items that can be damaged by moisture. Keep food, medicines and small appliances elsewhere. Store cleaners in their original labelled containers and follow the product label. Never combine cleaning products in a storage bottle.
If children can reach the cabinet, use a suitable child-resistant lock or move hazardous products to locked storage out of reach. The US Consumer Product Safety Commission recommends keeping cleaning supplies locked away and in their original child-resistant containers; households should follow the relevant safety guidance for their location. CPSC poison-prevention guidance
For a small cabinet, a good rule is to keep only what you use regularly and move backups to a dry cupboard. If you are choosing a new sink as well as organizing below it, bowl depth can affect the space left underneath. See our Small Kitchen Sink Ideas guide for help balancing sink size with the rest of a compact kitchen. Our kitchen sink size guide explains how bowl depth and cabinet fit affect the space below.
A simple setup for a compact cabinet
For many small cabinets, start with one removable caddy for daily-use products and one low bin on the clearer side of the pipes. Add a second level only if you can still see and reach the valves and connections. If the drain runs down the middle, two smaller bins may be easier to remove than one wide organizer. If the pipe layout leaves almost no usable space, keep a single caddy under the sink and store the rest elsewhere.
After arranging everything, take each bin out and put it back once. Open and close the cabinet door. Check that nothing is pressing on a hose, blocking a valve or hiding a damp patch. If the setup is awkward to remove, simplify it.
Common mistakes that waste the available space
Measuring only the cabinet width is an easy mistake. A storage unit can fit the interior on paper and still fail because the door opening is narrower, the hinges take up room or the pipe crosses its sliding path. Measure the route in and out as well as the place where the organizer will sit.
Another common problem is filling every open area. A packed cabinet is harder to clean and inspect, and a bin that cannot be lifted out easily may be less useful than a smaller one. Leave a little working room around the valves and connections. Do not hang baskets from the plumbing or force a shelf to rest on a pipe; storage should sit securely on the cabinet or on fittings designed for that cabinet.
Finally, do not choose an organizer from a styled photograph alone. The cabinet in the picture may have a different drain position, door width or sink bowl. Compare the organizer’s full outside dimensions and clearances with your sketch, and buy only when the measurements match.
Quick checklist before you buy
- Have I measured the inside width, depth, clear height and door opening?
- Do I know where the drain, trap, valves and any equipment sit?
- Can the organizer be removed without moving or pressing on plumbing?
- Will a pull-out clear its full path, including hinges and stored bottles?
- Can I still reach the shutoff handles and inspect the connections?
- Will the cabinet door close without hitting the organizer?
- Can I store the cleaning products safely and keep the cabinet dry?
Frequently asked questions
What is the best way to organize under a kitchen sink with pipes?
Measure the open pockets beside and in front of the plumbing, then use small removable bins that fit those areas. A layout with a centre drain may work better with separate bins than with one large shelf.
Can I put a shelf under the sink?
Yes, if it fits the measured clearance and its supports stand securely on the cabinet base. Choose an adjustable or pipe-friendly shelf only when it fits your actual layout, and keep valves and connections accessible.
Should cleaning products go under the kitchen sink?
They can go there if the cabinet suits the product labels and they can be stored safely. Keep them in original labelled containers, away from children, and use a lock or a different location if children can access the cabinet.
How can I organize the cabinet without drilling?
Use freestanding caddies, removable bins or a shelf that rests securely on the cabinet base. For anything attached to the door, follow the maker’s instructions and confirm the door can still close without pressing on plumbing or stored items.